개발을 잘 하는 것 만큼 자신이 개발한 내용을 문서화하여 클라이언트와 소통하는 것이 중요하다.
그렇기 때문에 문서화 작업은 최대한 직관적이며, 단순하고 쉽게 할 수 있어야 한다.
Swagger의 장점
1. 쉬운 관리와 직관적인 구성
주석으로 문서를 작성할 수 있는 JSDoc과 연동하여 사용할 수 있다.
swagger-jsdoc npm 모듈을 활용하면 쉽고 빠르게 Swagger 문서로 변환할 수 있다.
- 관련 링크
Swagger Basic Struture
Basic Structure
OAS 3 This page applies to OpenAPI 3 – the latest version of the OpenAPI Specification. If you use OpenAPI 2 (fka Swagger), visit OpenAPI 2 pages. Basic Structure You can write OpenAPI definitions in YAML or JSON. In this guide, we use only YAML examples
swagger.io
swagger-jsdoc
Generates swagger doc based on JSDoc
www.npmjs.com
2. npm run 명령어 활용
swagger-jsdoc npm 모듈을 이용하기 때문에 npm run 명령어를 이용해서 API 문서를 배포할 수 있다.
따로 script를 만들어서 배포할 수도 있고, 배포 명령어에 추가해서 사용할 수도 있다.
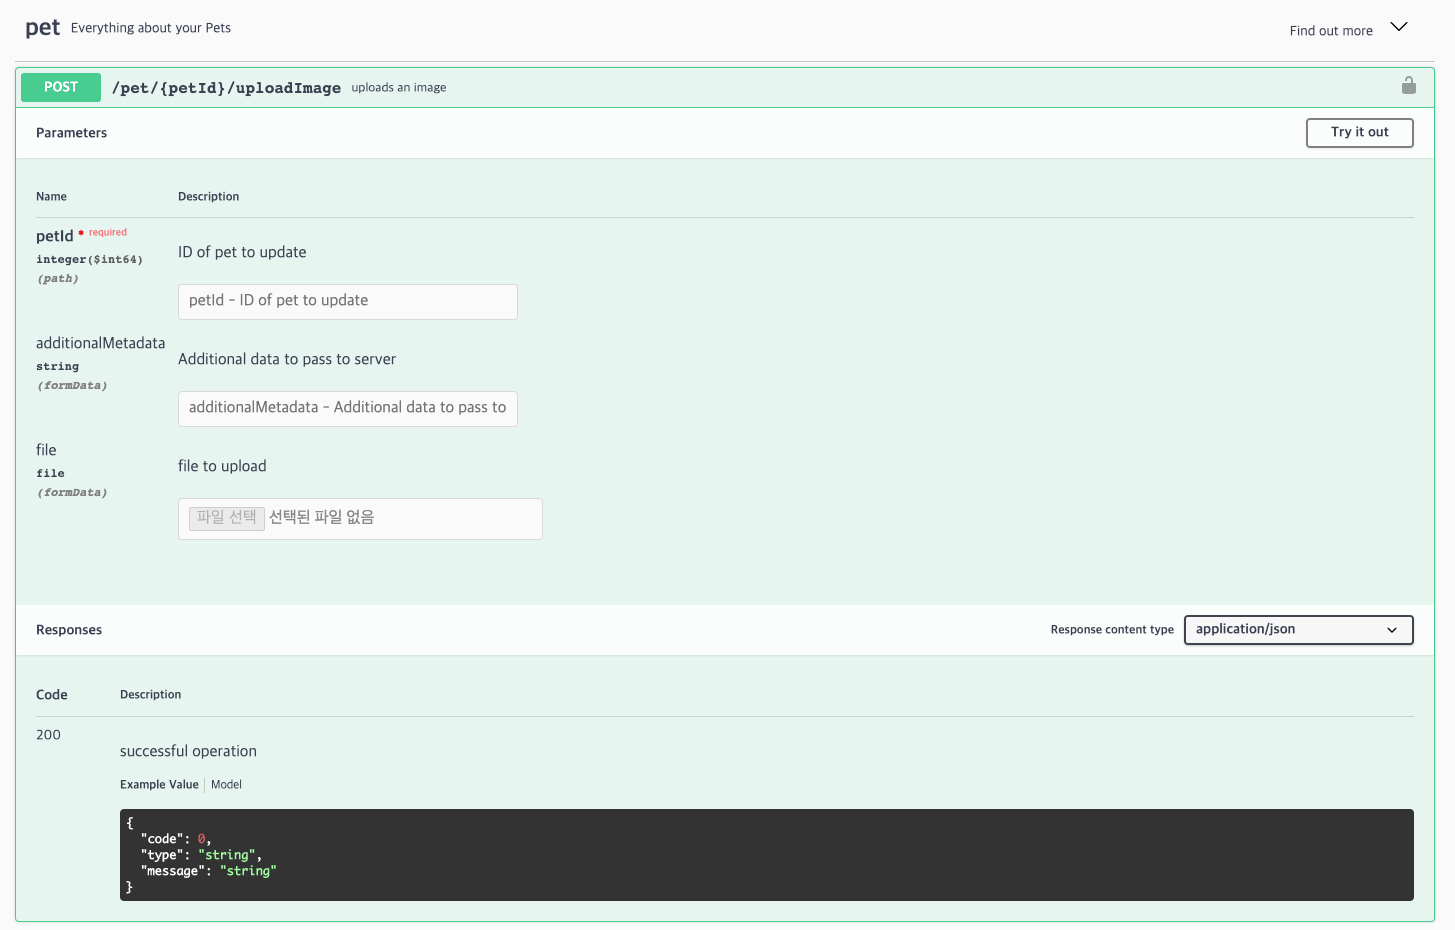
3. 직관적인 API UI와 테스트 기능 지원
Swagger의 API UI는 직관적이다.
해당 화면을 처음 접하는 유저도 쉽게 이해하고 활용할 수 있다.
그리고 Try it out 버튼을 이용해 바로 API를 테스트해볼 수 있다.


- 관련 링크
Swagger UI
REST API Documentation Tool | Swagger UI
swagger.io
swagger-jsdoc 사용 방법
앞서 공유한 Swagger 공식 홈페이지 Docs의 내용을 활용해서 각 function마다 함수에 주석으로 API 문서 내용을 작성해 준다.
작성이 완료되었다면, swagger-jsdoc을 활용하여 Swagger 문서로 변환한다.
먼저 swaggerDef.js 파일을 하나 만들고, 아래 예시와 같이 작성한다.
'use strict';

const fs = require('fs');
const glob = require('glob');

// info: package의 version을 가져오는 함수
const getVersion = function () {
  return JSON.parse(fs.readFileSync('package.json').toString()).version;
};

// info: swager에서 사용할 모든 주석 내용 경로를 가져오는 함수
const getApis = function () {
  return glob.sync('/**/**.js');
};

module.exports = {
  openapi: '3.0.3',
  info: {
    title: 'Example APIS',
    version: getVersion(),
    description: '예시'
    contact: {
      name: 'API Team',
      email: 'example@example.com'
    },
  },
  apis: getApis(),
  servers: [
    {
      url: 'https://example.com/stage',
      description: 'Example stage',
    },
    {
      url: 'https://example.com/production',
      description: 'Example production',
    },
  ],
  tags : [
    {
      name: 'pet',
      description: 'Everything about your Pets',
    },
    {
      name: 'store',
      description: 'Access to Petstore orders',
    },
  ],
  components: {
    parameters: {
      path: {
        name: 'id',
        in: 'path',
        description: '필수 id 값',
        required: true,
        schema: {
          type: 'integer',
          example: 100,
        },
      },
      ...
    },
    ...
  },
};
해당 코드에서 주요한 부분은 module.exports 부분이다.
해당 객체의 key 값 별로 설명을 하겠다.
openapis는 변환할 Swagger의 버전이다.
info는 기본적인 API의 내용이다.
여기서 getVersion()는 fs npm 모듈을 활용하여 package.json의 version 값을 가져오기 위한 함수이다.
- 관련 링크
fs npm module
fs
This package name is not currently in use, but was formerly occupied by another package. To avoid malicious use, npm is hanging on to the package name, but loosely, and we'll probably give it to you if you want it.
www.npmjs.com
apis는 API 문서에 들어갈 내용이다.
여기서 getApis()는 glob npm 모듈을 활용하여 전체 폴더에서 전체 js 파일을 검색하고, 안에 작성된 주석을 가져온다.
glob 관련 문법을 활용하면 특정 js 파일만 가져와서 적용할 수도 있다.
- 관련 링크
glob npm module
glob
a little globber
www.npmjs.com
servers는 API의 여러 url을 저장할 수 있고, 테스트할 때 활용된다.
tags는 API를 모아주는 역할을 하며, 앞서 이야기한 Swagger UI에서 활용할 수 있다.
components는 공통으로 사용되는 내용을 작성해 놓고 주석에서 활용할 수 있다.
아래의 예시처럼 사용하시면 주석에서 사용하면 되며, 해당 내용은 Swagger 3.0부터 지원한다.
/**
 * @swagger
 *
 * /pet/{id}:
 *   get:
 *     tags:
 *       - pet
 *     description: pet id로 정보 가져오기
 *     security:
 *       - awsApiKey: []
 *     produces:
 *       - application/json
 *     parameters:
 *       - $ref: '#/components/parameters/path/id'
 *     responses:
 *       200:
 *         $ref: '#/components/responses/get/200/pet'
 *
 */
- 관련 링크
Swagger components
Components Section
OAS 3 This page applies to OpenAPI 3 – the latest version of the OpenAPI Specification. Components Section Often, multiple API operations have some common parameters or return the same response structure. To avoid code duplication, you can place the comm
swagger.io
변환 파일 및 주석 작성이 완료 되었다면 CLI를 사용해서 변환을 해준다.
관련 내용은 npm run 명령어로 간단히 사용할 수도 있으며, 배포 시에 한번에 동작하도록 해줄 수도 있다.
"scripts": {
  "update": "rm -rf ./node_modules && npm i",
  "updateDocs": "swagger-jsdoc -d swaggerDef.js",
}
해당 스크립트를 실행해서 동작하면 swagger.json 파일을 얻을 수 있습니다.
Swagger 문서 내용을 모두 정리했으니, Confluence Wiki에 문서로 만들어서 배포해 봅시다.
Confluence Wiki 문서 수정 자동화
Confluence는 개발자를 위해 Developer 사이트를 제공하고 있다.
그 중에서 REST API를 이용해서 Confluence Wiki의 페이지를 관리할 수 있다.
- 관련 링크
Confluence REST API
Confluence Server REST API
Confluence Server REST API ApplicableConfluence Server 5.5 and later Confluence Data Center 5.6 and later The Confluence Server REST API is for admins who want to script interactions with Confluence Server and Data Center and developers who want to integr
developer.atlassian.com
Counfluence REST API를 활용하기에 앞서 Confluence Wiki에 페이지를 추가해 준다.
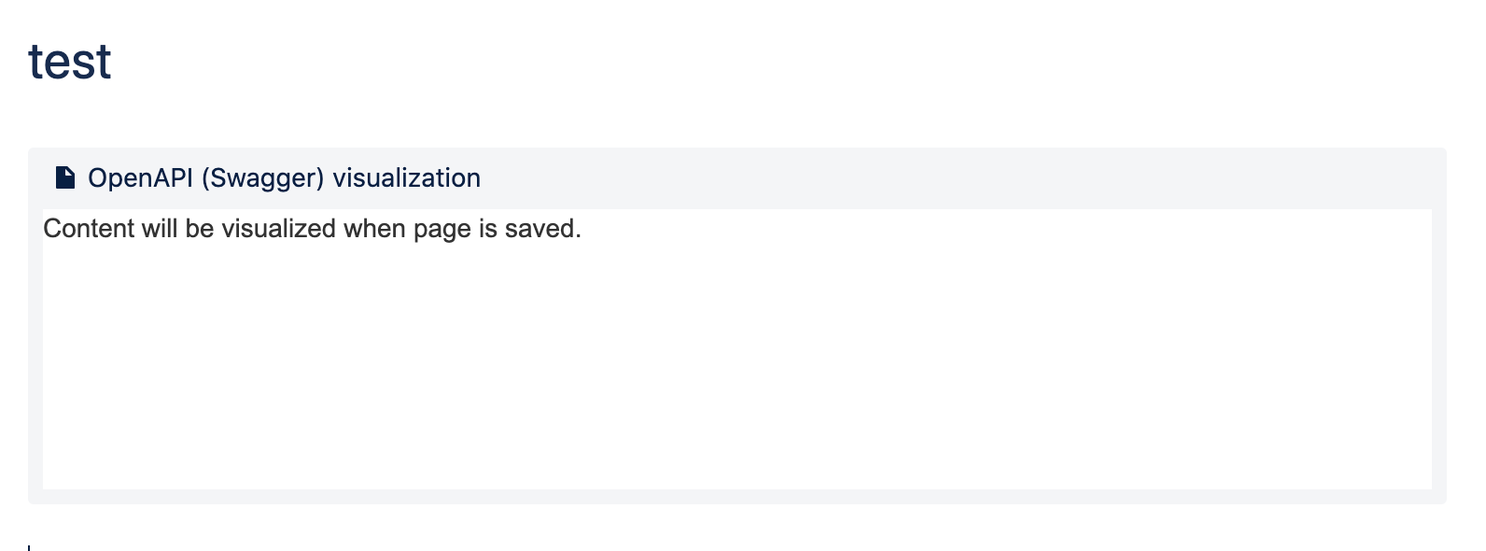
빈 페이지에 swagger 매크로를 추가한다.


그리고 atlassian에서 api token을 생성한다.
아래 링크에 로그인하여 API 토큰을 만들어 준다.
https://id.atlassian.com/manage-profile/security/api-tokens
- 관련 링크
API tokens
Manage API tokens for your Atlassian account | Atlassian Support
Authenticate script or other process with API token for an Atlassian cloud product.
support.atlassian.com
생성된 API 토큰은 추후에 다시 확인이 불가능하기 때문에 따로 관리해주는 것이 좋다.
API 토큰이 생성 되었다면 update.js 파일을 만들어 준다.
'use strict';

const fs = require('fs');
const axios = require('axios');

const pageId = '1234567890';
const url = `https://example.atlassian.net/wiki/rest/api/content/${pageId}`;

!async function () {
  try {
    const email = 'test@example.com';
    const apiToken = 'JKI2aFumluzB6pApkcYgBB6F';
    const auth = Buffer.from(`${email}:${apiToken}`).toString('base64');
    const config = {
      headers: {
        Authorization: 'Basic ' + auth,
        'Content-Type': 'application/json',
      },
    };

    // info: 기존 데이터 가져오기
    const response = await axios.get(`${url}?expand=body,storage,version`, config);
    const { type, title, version, body } = response.data;

    const value = body.storage.value;
    const startValue = value.indexOf('<![CDATA[');
    const endValue = value.indexOf('</ac:plain-text-body>');

    // info: 새 데이터 업데이트하기
    const swaggerJson = await fs.readFileSync('./swagger.json').toString();
    const updatedValue = `${value.slice(0, startValue)}<![CDATA[${swaggerJson}]]>${value.slice(endValue)}`;

    const data = {
      type,
      title,
      body: {
        storage: {
          value: updatedValue,
          representation: 'storage',
        },
      },
      version: {
        number: version.number + 1,
      },
    };

    await axios.put(url, data, config);

    console.log('success');
  } catch (error) {
    console.log(error);
  }
}();
이 때 pageId, url 주소 및 apiToken을 본인이 사용하는 정보에 맞게 작성해 준다.
API를 GET, POST하는 부분은 axios npm 모듈을 활용했다.
- 관련 링크
axios npm module
axios
Promise based HTTP client for the browser and node.js
www.npmjs.com
마지막으로 스크립트 파일을 아래와 같이 수정해 준다.
이제 스크립트 명령어를 통해서 API 문서를 업데이트 해줄 수 있다.
"scripts": {
  "update": "rm -rf ./node_modules && npm i",
  "updateDocs": "swagger-jsdoc -d swaggerDef.js && node update.js",
}'etc' 카테고리의 다른 글
| [cron] 우분투에서 cron을 사용하여 예약 스케줄러 만들기 (0) | 2021.04.12 |
|---|---|
| [Vue.js] Vue.js 소개 및 기본 세팅 방법 (0) | 2018.09.05 |
| 01 Angular4 - 기본 세팅 및 설명 (0) | 2018.04.09 |


댓글